Test first, replace second: a day with control boards on the bench
By the RepairWell team ·
A dead display is easy to blame on the control board. Sometimes the board is guilty. Sometimes it is a connector, a harness or a part the board is simply reporting on. The bench is where we find out.
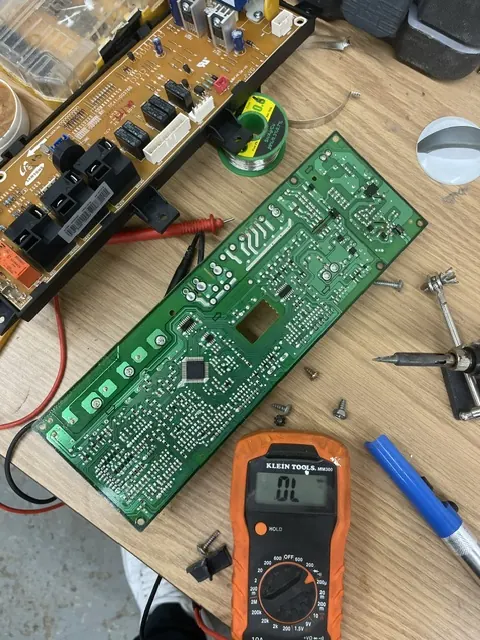
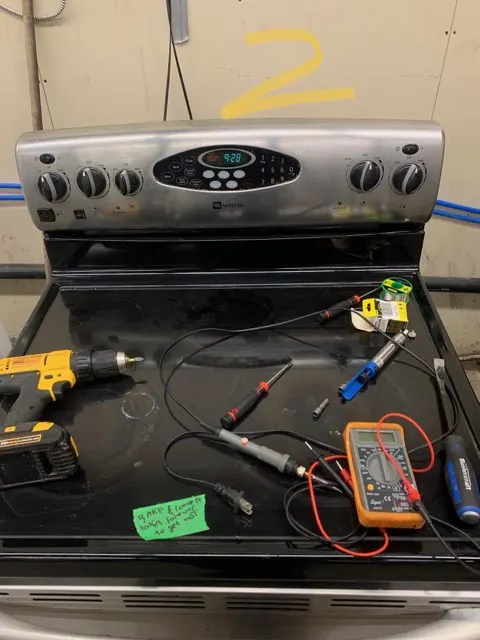
Real RepairWell photo · Testing control boards on the bench before replacing anything.
The short version
Why it happens, how common it is, how we fixed it
1
Why this problem happens
Control boards fail from heat, power surges, moisture and relays that simply wear out after years of switching. But many “dead board” symptoms are really a loose or corroded connector, a damaged harness, or a sensor or touchpad the board is reporting on.
2
How common it is
A dark or unresponsive display is a very common call on modern appliances, and it is often blamed on the board first. In our experience a good share of those cases turn out to be a connector, a harness or the touchpad instead, which is why we test before we quote.
3
How we fixed it
We reseated and inspected every connector, tested the parts the board controls, then bench-tested the boards. The relay board was fine; the touchpad circuit tested open on two lines. We ordered the replacement from the part number and revision printed on the part, fitted it and checked every button.
The full story
When an appliance display goes dark or stops responding, the control board gets blamed first. It is often one of the most expensive parts in the machine, so we would rather prove it is at fault than guess.
What you are looking at
This is the bench after a range call. On the left, the range's main relay board. In the middle, the green user-interface board that sits behind the touchpad. The meter reads OL, which means open: no path for current between the two points being tested. Sometimes that is exactly what you want to see. Sometimes it is the fault.
The complaint was a range that would show the clock but ignore half the touchpad. It is easy to assume that means a new board. It might, but nobody can know that without testing.
The order we work in
Connectors and harnesses first. A loose, corroded or heat-darkened connector can make a good board look dead. We reseat and inspect every connector before anything else.
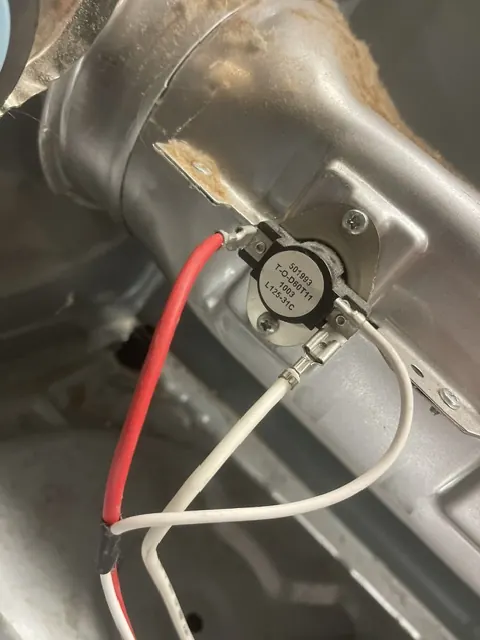
The parts the board controls. A board that reports an error is often reporting on something else: a sensor, a door lock, an element. We test those so we do not replace the messenger.
The board itself. On the bench we look for burnt traces, cracked solder joints, swollen capacitors and relays that no longer switch cleanly.
On this one, the touchpad ribbon tested open on two circuits. The relay board was fine. The fault was on the user interface side, which changed what needed to be ordered.
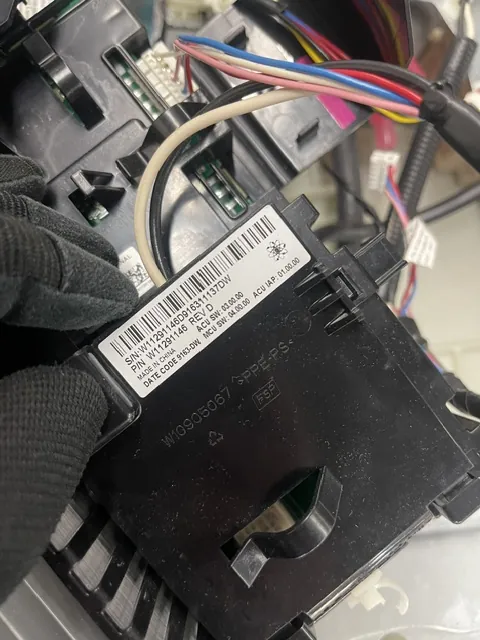
Matching a control module's part number before ordering.
Getting the right part
Once testing points to a board or module, we order from the part number printed on the part itself, not just the appliance model number. Manufacturers revise boards over time, and the label often shows a revision letter, like the REV D on the module above. A replacement that looks identical can behave differently if it is the wrong revision or the wrong software level for that machine.
If you want to help before a visit, a clear photo of the appliance's model and serial label saves time. Our guide to finding the model and serial number shows where it usually is.
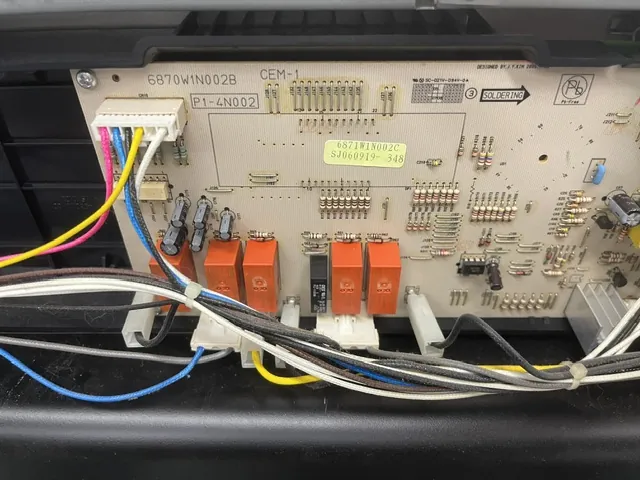
A console control board opened for diagnosis.
What the finding says
When a board does need replacing, the written finding says what we tested, what failed and why we are confident it is the board. When it does not, it says what the actual fault was. Either way you see the reasoning before you approve anything, and the $89 diagnostic is waived if you go ahead with the repair.
And when a board is expensive enough to make the repair questionable on an older machine, we say that too. Our repair-versus-replace guide covers how we weigh it.
Before you book, a few safe checks
Note any error code exactly as shown, including letters and dashes, before you reset anything.
Unplug the appliance, or switch it off at the breaker, for a few minutes, then restore power. A reset clears some control glitches.
Check whether the outlet works using a lamp you know is good.
Photograph the model and serial label so the right part can be identified.
Anything involving live wiring, gas or refrigerant is technician-only.
The photos in this post are from a real RepairWell job. We use them to explain the possible causes of this problem and how it gets fixed. Every appliance is different, so your fault may have a different cause; the diagnostic visit confirms it.